DIY
Quick DIY Guide: How to Install a Dash Kit in your Car
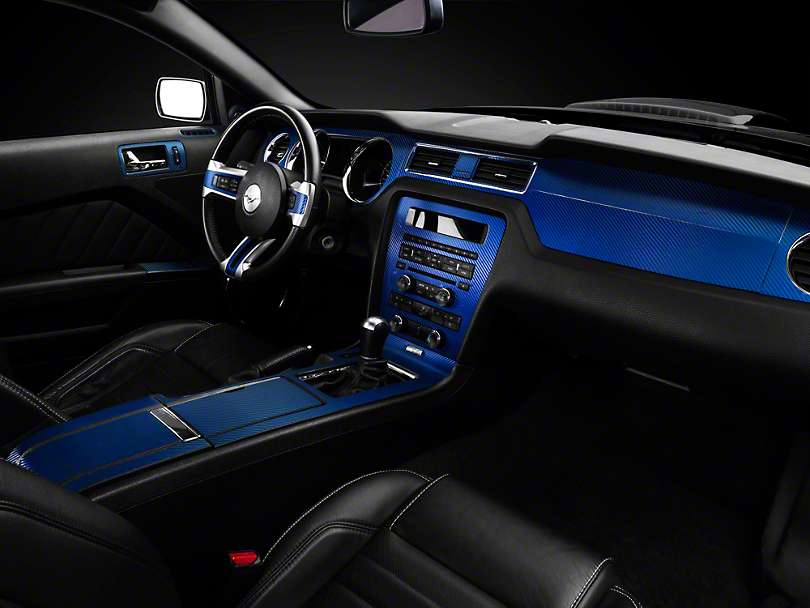
Car enthusiasts spend a lot of time obsessing over exterior styling and how clean a car is. None of that is visible from behind the wheel. Instead, the parts of the car you interact with are the interior. Even minor changes to your car’s interior can create a more enjoyable driving experience, and for a chord change you’ll really notice, a dash kit makes a great, easy-to-install option that will help your car look more like a supercar.
Dash kits are available to help you give your ride a custom flavor, whether it’s subtle or aggressive. Take the time to get installation right and you’ll enjoy a high-quality finish that sets your car’s interior off in a whole new light.

Step 1: Choosing the Right Kit
Before you can install, you have to decide which dash kit is right for your car. Fans of a more classic look might select a woodgrain or chrome kit. For sporty applications, it’s hard to go wrong with carbon fiber, or you might consider a brushed aluminum kit. Be sure to confirm the kit you select fits your car’s make and model year.
Step 2: Preparing to Install
It has been said, “To cut down a tree in five minutes, spend three minutes sharpening the axe.” This definitely holds true when it comes to installing your new trim kit. Good preparation will ensure your kit fits right and looks good, and failure to prepare properly could result in bubbling or misaligned trim pieces, so take your time.
Use a special cleaner like Prep-ALL Wax and Grease Remover to remove all silicone from the areas where you’ll apply the dash kit. You can test to make sure the surface is clean by sticking a piece of masking tape to it. Tape will stick well to a surface that’s free of silicone. Follow this test by cleaning the residue from the tape off using isopropyl alcohol.

Step 3: Alignment and Application
With your cleaning finished, you can test-fit all your trim pieces by lining them up without removing the protective backing. Consider where you’ll want to apply adhesive promoter — pay special attention to corners, narrow strips, vertical edges and vents. Only use the promoter in places where it’s needed, as it may damage the surface where it is applied. Wear rubber gloves to protect your hands from the promoter.
Once the promoter has been allowed to set for around five minutes, it’s time to get down to the business of placing your trim. Starting with small, flat pieces, peel off the protective backing and carefully place the dash kit. You cannot re-position a piece once it touches the promoter, so use caution.
You want to complete the process within about 20 minutes of applying the promoter. For larger pieces, use a left-to-right technique, rolling the piece down onto your interior to force out any pockets of air. If you are applying a kit with a hard-shell exterior, you will need to place the pieces directly.
Enjoy the Finished Product
Nice job — you’ve completed a DIY upgrade to your car’s interior you’ll notice every time you get in and go for a drive. Drink in the good looks of your new dash and pat yourself on the back. You’re all done.


